Today we are announcing a preview release of our new bindings generation system for Extism, XTP Bindgen. XTP Bindgen is part of the XTP toolset. It works hand-in-hand with Extism to generate plug-in bindings and types from a familiar and well-typed IDL document.
Check out this video if you want to jump straight to seeing it in action:
The problem of binding generation
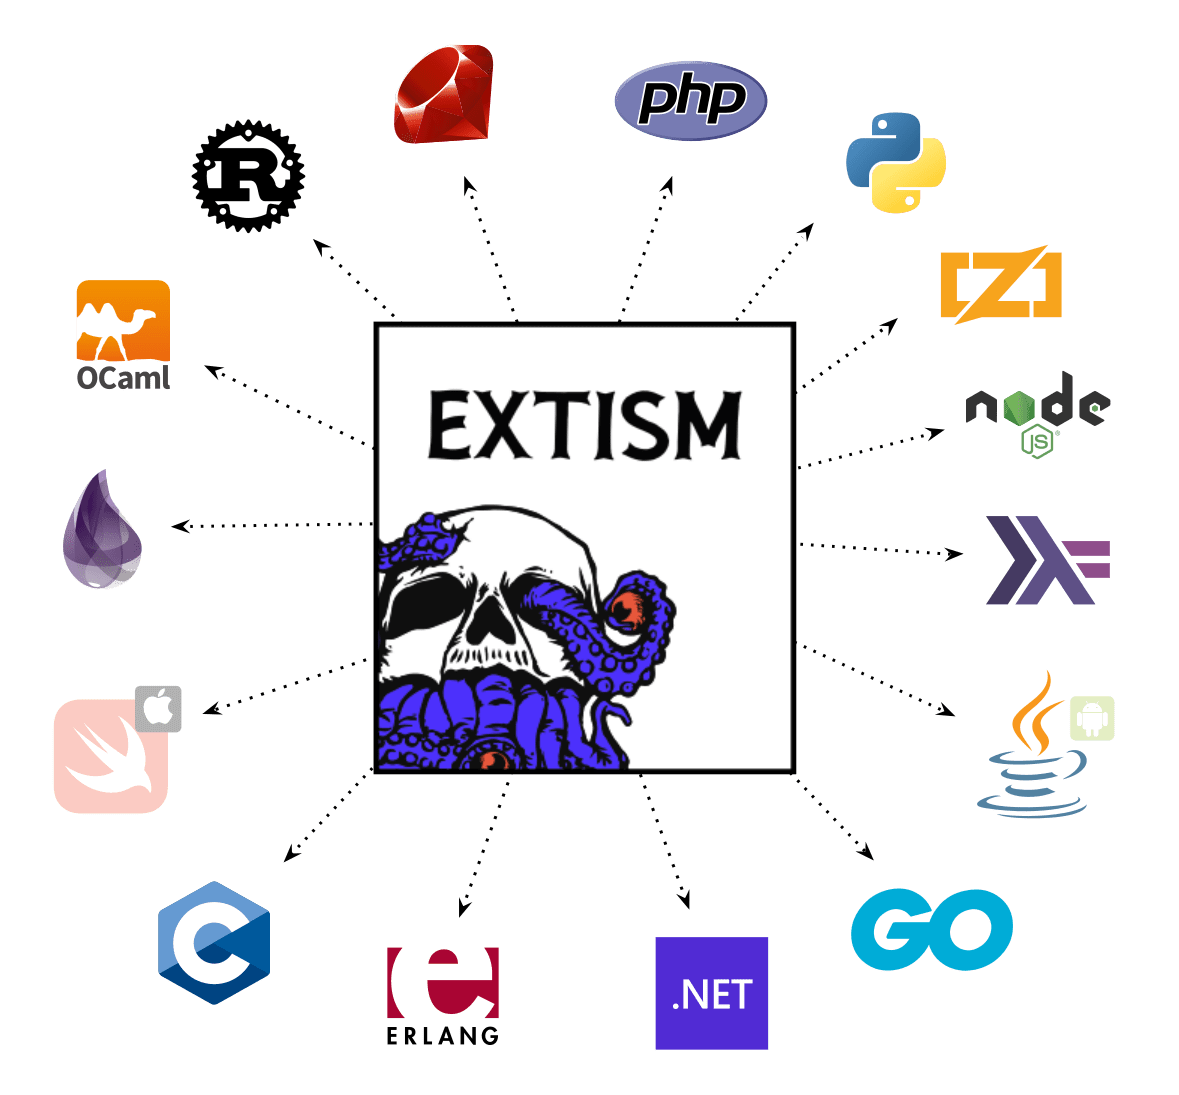
Extism has been a success thanks to the "bytes-in → bytes-out" programming model that has allowed our community to scale the framework's support to over 16 host languages and 11 guest languages seamlessly across a number of backing Wasm runtimes. If you described an Extism function in TypeScript, it might look something like this:
function myExtismFunction(input: Uint8Array | null): Uint8Array | null;
This works for the same reason that HTTP has worked so well: it leaves interpretation of the payload to application logic. This approach doesn't force you into any kind of paradigm or language level restrictions. The two modules just communicate via bytes in-memory and you can decide how to interpret them. Although this may seem too simple to build complex and ergonomic things, with these primitives you can build APIs that feel idiomatic and hide all the Wasm details from the callers.
Still, this leaves our plug-in-system developers to do the work of creating these idiomatic interfaces. And in a lot of cases, this work feels tedious to do in 2024. Although incredibly tempting, we intentionally decided not to solve this problem when we created Extism. Instead, we stabilized Extism 1.0 and learned from our users.
What we learned
What we learned is not too surprising, but our egos perhaps blinded us from the truth: this problem is already solved and it just needs to be adapted for Wasm. Because the underlying programming model is borrowed from HTTP, and everyone is already familiar with these tools, we can reuse a lot from that ecosystem. So the answer ends up being:
- Choose a well-known and well-supported encoding
- Encode your interface in a web-standard IDL for HTTP APIs
- Provide generators that make Wasm calls instead of HTTP calls
- Generate code for language-level bindings
We learned you can do this with mostly out-of-the-box OpenAPI. I was able to generate an Extism plug-in system for Lago using just lightly modified OpenAPI tools. Furthermore, we're finding that developers' applications already have their domain models and interfaces they wish to extend encoded this way. And because it's a web layer for them, they already have documentation as well as code to limit and sanitize the data (which are important for running untrusted code). In a way, it's like these applications already have a next-gen, Wasm plug-in system hiding right under their nose.
XTP Bindgen
Earlier this year, we started working on XTP to make it as easy and fun as possible to add extensibility to your application using Extism. We decided we cannot ask our users to make all these choices and tweak OpenAPI or GRPC generators themselves to make their plug-in ecosystems. We want the closest thing to a one-click experience to a fully functional plug-in ecosystem for your app. So we knew that we need to make a first-class tool for this.
XTP Bindgen is a system which takes an XTP Schema (a minimal, wasm-focused extension to the OpenAPI format) and generates plug-in bindings for any of our Extism supported PDK languages. The binding generators themselves are open source and it's easy to modify them or write your own. They're shipped as Extism plug-ins themselves and run in the XTP CLI!
All you need to do is pass a schema file to the xtp plugin init command, choose a language... and voilà! Fully-typed, Extism-compatible plug-in boilerplate at your fingertips:
$ xtp plugin init --schema-file schema.yaml
    Select a language

    1. TypeScript
    2. Go
    3. Rust
  > 4. C#
    5. Zig
    6. GitHub Template
    7. Local Template

    ••

    ↑/k up • ↓/j down • q quit • ? more
XTP will generate the skeleton of an Extism plug-in for your system along with all the binding level code. E.g. if the user chooses TypeScript, they will only interact with TypeScript types (even though it's running in Wasm).
By writing our own generators, we've ensured that everything works smoothly with standard Core Wasm Modules. We only generate types where we can, and when we do generate code, we make sure it looks hand-written so it's easy to modify or debug. We also generate things like doc comments about types and properties defined in the schema. This ensures that your plug-in developers get a first-class experience in their IDEs. They can't tell it's not hand-written!
Try it out
We are excited to hear what you think, so please dive in and make bindings for your Wasm projects with XTP and Extism:
1. Install the xtp CLI
curl https://static.dylibso.com/cli/install.sh -s | bash
2. Write an XTP Schema
See examples and documentation here: https://docs.xtp.dylibso.com/docs/concepts/xtp-schema
3. Generate bindings
xtp plugin init --schema-file schema.yaml
And as always, please join us on Discord to share feedback, get help, or just say hello.