

Let's make some games
In the previous parts to this blog series (Part I and Part II), we discussed the creation of GameBox, an Elixir application implemented as an Extism host, that provides an extensible platform for multi-player, turn-based games.
In this post, we're going to explore the nuts and bolts of writing some GameBox games! The best part about this is we can harness the power of the Extism Plug-in Development Kits (PDKs) to write our games in any number of languages that can be compiled into WebAssembly, even though GameBox itself is implemented in Elixir. This gives you, the game creator, the flexibility needed to unleash your creative power expressed in the programming language that best suits your passion and skills, all while ensuring the game platform itself remains secure, and the games themselves are lightweight and portable.
The Game API
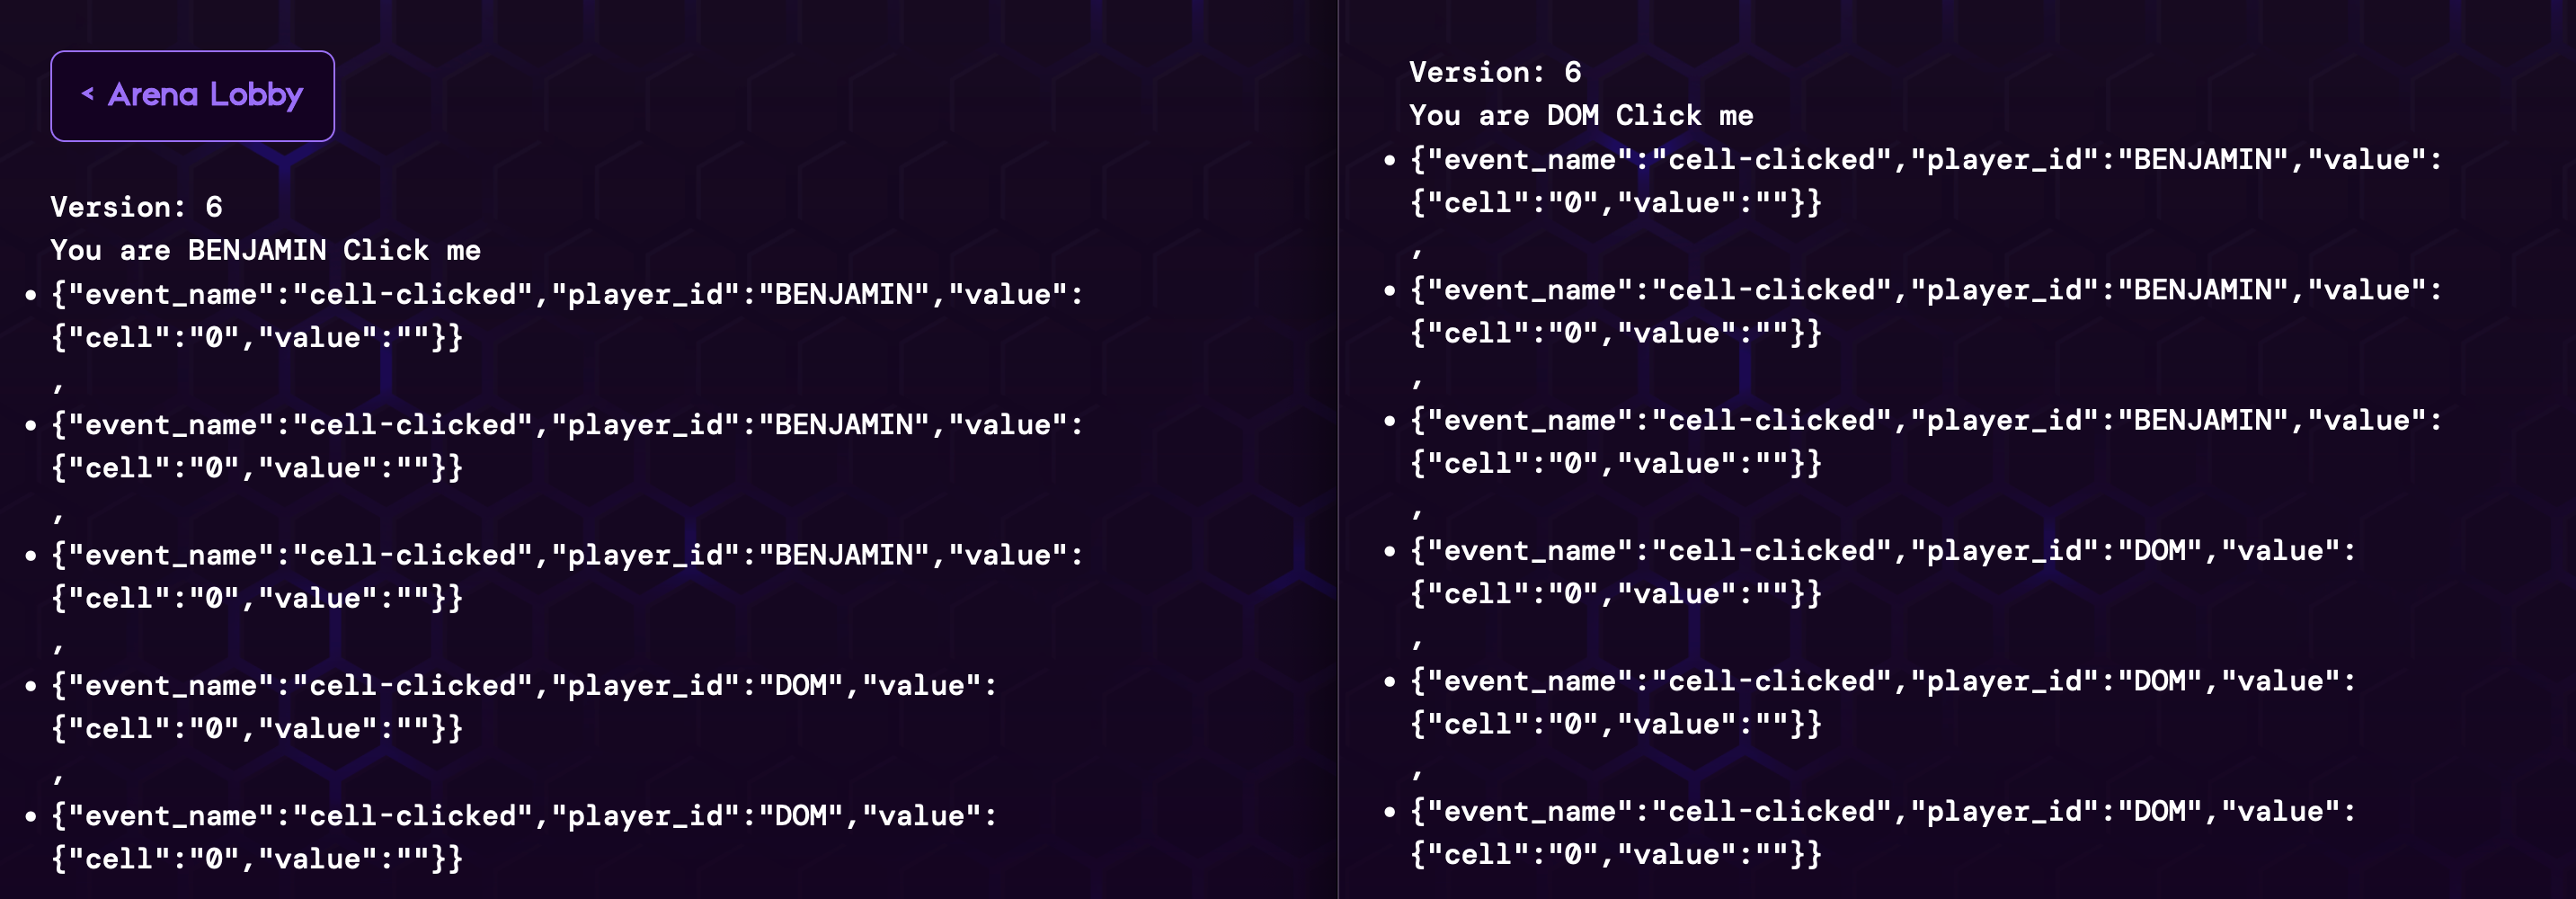
As the game creator, you need only implement and export four basic functions that GameBox will call during the course of the gameplay. Let’s demonstrate this by creating a “game” which has a single button and shows the log of events coming into the game:
We’re going to write this in JavaScript for simplicity. Our JavaScript PDK still has a fairly primitive API for defining Extism functions. Different languages come with various levels of sugar to make it prettier. But this should be the easiest to follow.
Helpers
Let’s start with some helper functions. Currently GameBox expects you, the game programmer, to store the state of the game yourself. This can be accomplished with plug-in variables. So let’s make some helpers to get and set the state into a plug-in variable called “state”:
function set_state(state) {
  Var.set('state', JSON.stringify(state))
}

function get_state() {
  return JSON.parse(Var.getString('state'))
}
The variable doesn’t need to be JSON, but this is the easiest way to consistently store any JS object into bytes in this language.
This uses Extism’s Var.set and Var.getString to set and get the variable, and the data will persist between calls.
Interface Functions
Now with our helper functions ready to go, let's move on to the interactions with GameBox itself.
The first function that GameBox will invoke, get_constraints, provides it with some metadata about the constraints you want to apply as the game creator.
Currently, these constraints are related to the minimum and maximum number of players, specified as integers, but additional constraints could be added in the future.
get_constraints(void) -> GameConstraints
function get_constraints() {
  const constraints ={
    min_players: 2,
    max_players: 10,
  }
  Host.outputString(JSON.stringify(constraints))
}
Once all players are ready to start the game, GameBox will call init_game, passing in information about the players and allowing your game to allocate state,
memory, and anything else required. Here we are only interested in the player_ids that are joining the game. We define our state and persist it with our set_state helper:
init_game(GameConfig) -> void
function init_game() {
  const game_config = JSON.parse(Host.inputString())
  const state = {
    player_ids: game_config.player_ids,
    events: [],
    version: 0,
  }
  set_state(state)
}
The version property here will be incremented every time the game state changes. This will be used to tell the system to re-render the clients.
Next, the render function is called each time the game board needs to be rendered. It's called for each user watching or playing the game and each time the state version changes.
You can render the game depending on who is viewing it by looking at the metadata on the user's socket. This is passed in as an object called assigns. For example,
you will render the game differently based on who's turn it is and which screen it's being rendered on. By default the assigns will always have the player_id, but you can attach whatever you want to it. Take note this may be called for people who are only viewing the game and not playing, so you may want to conditionally render things like controls for those people.
render(Assigns) → String
function ui(state, assigns) {
  const version = `<h1>Version: ${state.version}</h1>`
  const youare = `<h1>You are ${assigns.player_id}`
  const button = `<button phx-click="cell-clicked" phx-value-cell="0">Click me</button>`
  // here we will just stringify the events we have received and log them in a list
  const events = state.events.map(e => `<li>${JSON.stringify(e)}</li>`)

  return `${version} ${youare} ${button} ${events}`
}

function render() {
  const assigns = JSON.parse(Host.inputString())
  Host.outputString(ui(get_state(), assigns))
}
You can attach any assigns you want to the user’s socket in handle_event , but by default it will always contain the version and the player_id
For simplicity sake we are just rendering the html using string interpolation. How you render the html is up to you. In tic-tac-toe for example, we use tera templates.
It's important to learn about LiveView to understand how the system works and how a game can be created.
And finally, during the course of the game lifecycle, GameBox will proxy any events (e.g. a player making a move, answering a trivia question, etc.)
it receives to your game through handle_event and accept a return value that contains some player-specific information.
handle_event(LiveEvent) -> Assigns
function handle_event() {
  const event = JSON.parse(Host.inputString())
  const state = get_state()
  state.events.push(event) // we're just pushing the event into this log
  state.version += 1       // tell the system we need to re-render
  set_state(state)
  // for Assigns here, we only need the version
  Host.outputString(JSON.stringify({ version: state.version }))
}
The shape of the input LiveEvent will depend on what Phoenix binding the user interacts with.
In our case, with the button we defined, it will look something like this:
{
  "event_name":"cell-clicked",
  "player_id":"BEN",
  "value":{
    "cell": "0"
  }
}
The return value, Assigns, can be anything you want it to be, but at a minimum it should contain the version.
Any assigns you return will get attached to the user’s socket and passed back to you in render.
Your game should be viewed as a state machine that receives these events and updates the state until a state transition occurs and the rules change. See some of the example games to understand how this idea can be applied.
And that’s all folks! Of course, your game can be as simple or complex as you like, but the interactions between GameBox and your game are streamlined and simple.
For more details on the API check out the GameBox repo on Github, which also includes a few example games for reference.
What’s Next
While this is all fun and games, the implications are staggering when one thinks about the opportunity for user-generated content that becomes possible across a wide variety of applications when WebAssembly is in the mix. One need only look at Shopify functions as an example of an extendable eCommerce platform, or data platforms such as SingleStore that enable users to write their own data transformations that run right alongside the host code to further see the possibilities.
Whether you want to create an extensible platform of your own, or write plug-ins that extend another platform, Extism, the universal plug-in system, provides you with a powerful facilitation agent to orchestrate the magic on both sides.
Feeling inspired? We’d love to hear about your ideas. Join us on Discord!